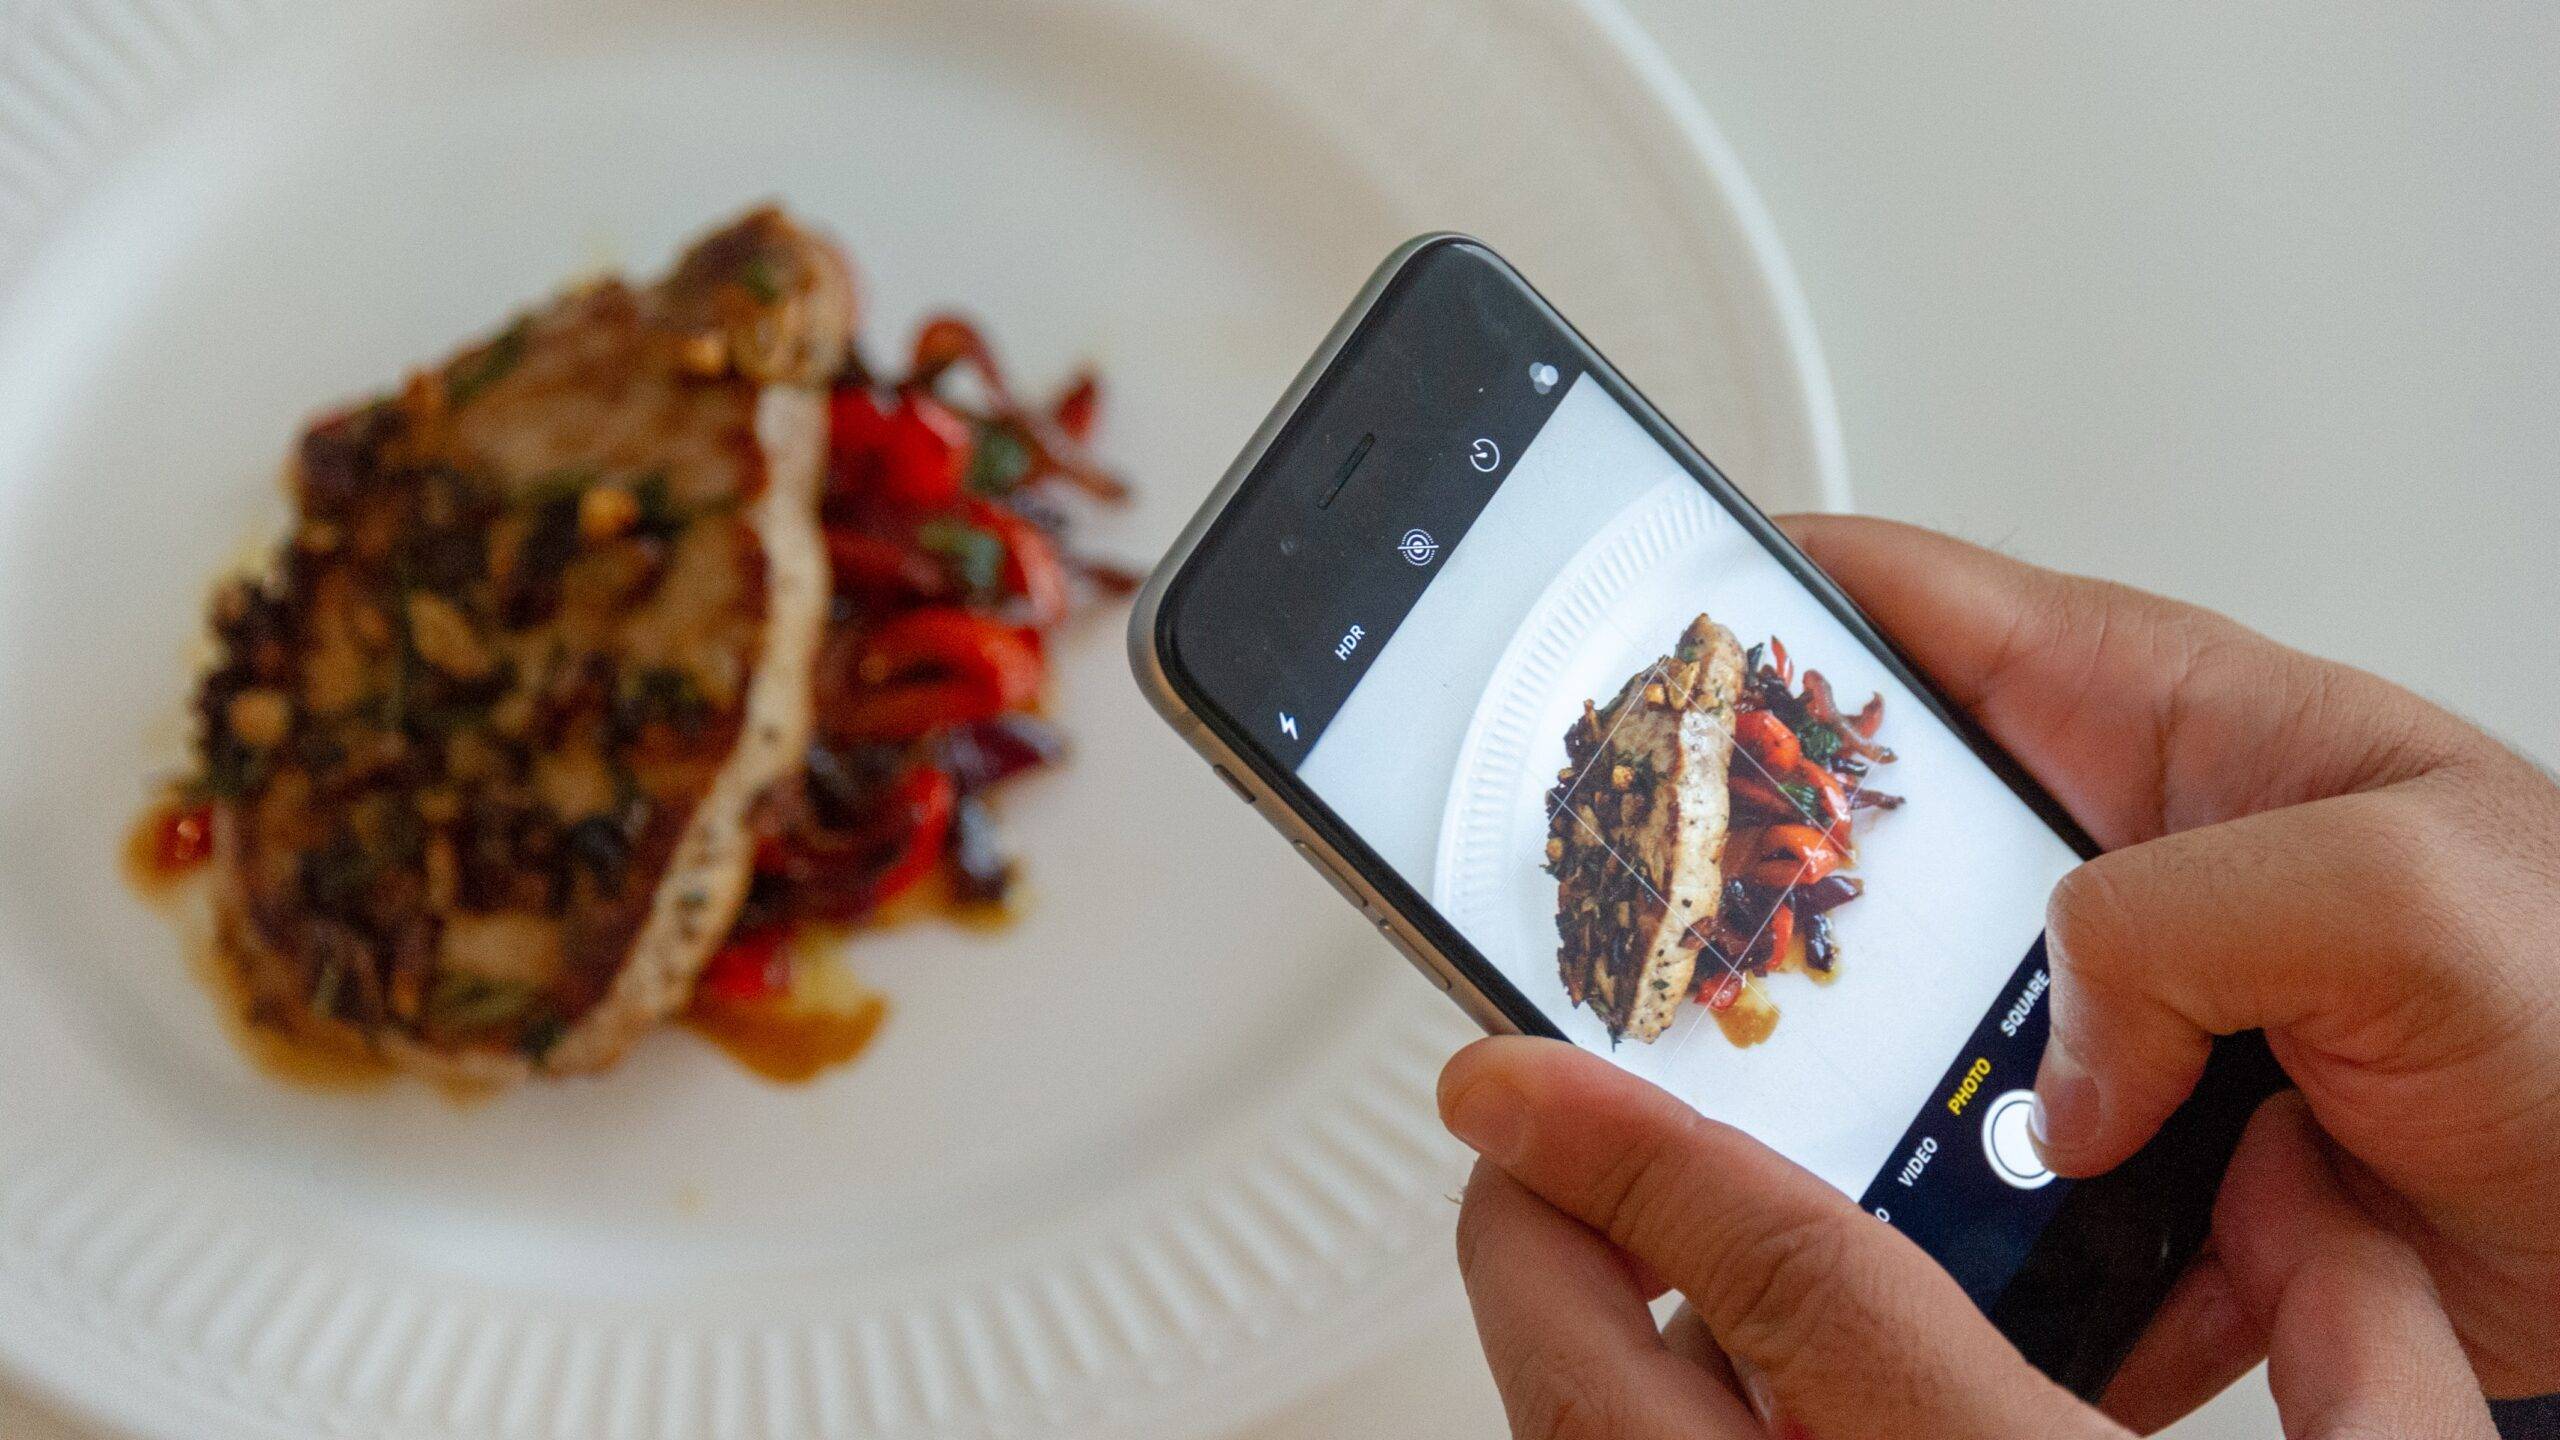
There’s nothing like looking through a restaurant’s menu, website, or social media and finding shot after shot of mouth-watering goodness. Good food photography isn’t just pleasant to look at—it’s also critical for the livelihood of your food business.
Think about it: Have you ever seen food photography that looks unappetizing or boring, only to write off the brand? That’s what makes it so important to give some special attention to your photos.
But don’t worry—there’s no need to spend thousands hiring a professional food photographer or buying sophisticated equipment. In this article, we’ll go over some key food photography tips to help you take the best photos, no matter your budget.
Start selling online now with Shopify
Start your free trial


1. Arrange your food
Arranging your food, called “plating” in the restaurant industry, is a key part of what builds someone’s first impression of your food. It builds the baseline for the aesthetic you’re creating with your food pictures.
Here are some tips for great plating:
- Make sure your food is the star of the photo. Generally speaking, the food you want to capture should be in the middle of your photo. You can accent this by putting it in the middle of the plate (if it’s on a physical plate), with extra room on the sides of the plate to create a sense of spaciousness and draw the viewer’s eyes toward the prize.
- Don’t be afraid to think like an artist. Try putting sauce in a squeeze bottle to draw beautiful lines on the plate, or using a pair of tweezers to get the flower garnish in just the right place. Some of the most eye-catching food shots pay an incredible amount of attention to detail.
- Plate food based on the nature of the meal. If you’re photographing something more colorful and naturally “chaotic,” like a salad, you won’t need to perfectly arrange each piece. But if your food focuses on design, like a decorative cake for example, use your plating to create a sense of order and balance.
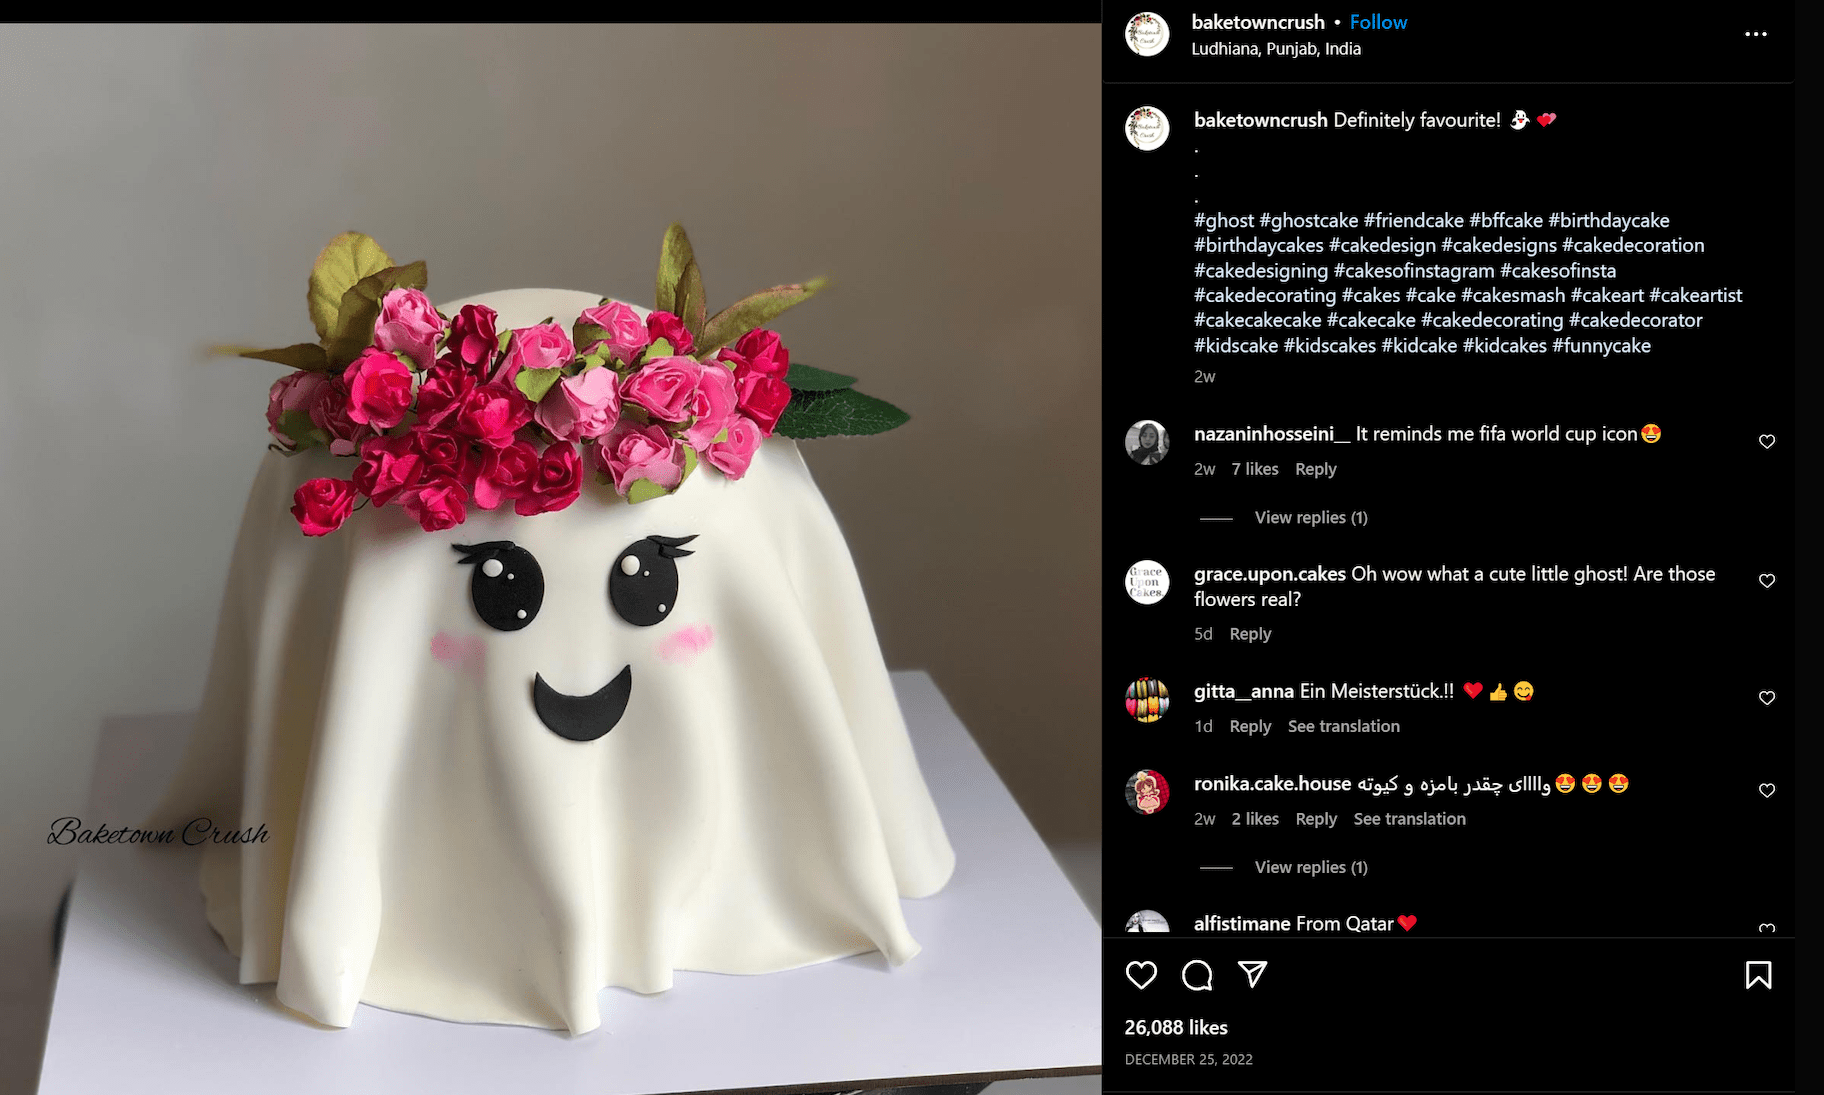
Source
2. Choose your background
The setting and props that your food is placed next to can be the difference between a boring photo and a work of art. Here’s another place to think about balance: Can you use a clean background to balance out a detailed food item? Or can you use a whimsical or aspirational background to tell a story, or transport your viewers to another world?
This is your chance to create a true aesthetic and brand image for your business. If it’s a plant-based brand, consider natural-looking backgrounds that make your viewers think about nature and the fruits of the Earth.
Some food bloggers, chefs, and food brands go to great lengths to create gorgeous photos that seem like a visual feast (in addition to the actual feast). But there are some professional food photography tips to help you make appetizing photos without going all-out.
Try adding simple props, like eating utensils and a napkin. This helps the viewer think about eating right now—which will make them more likely to follow your brand or buy what you’re selling.
Another tip is to decorate the background with ingredients used in the dish. If you have a garnish on top, sprinkle it around the area too. If you used fresh fruit or veggies, arrange them around the plate. You can also add other props like fabrics and home décor items.
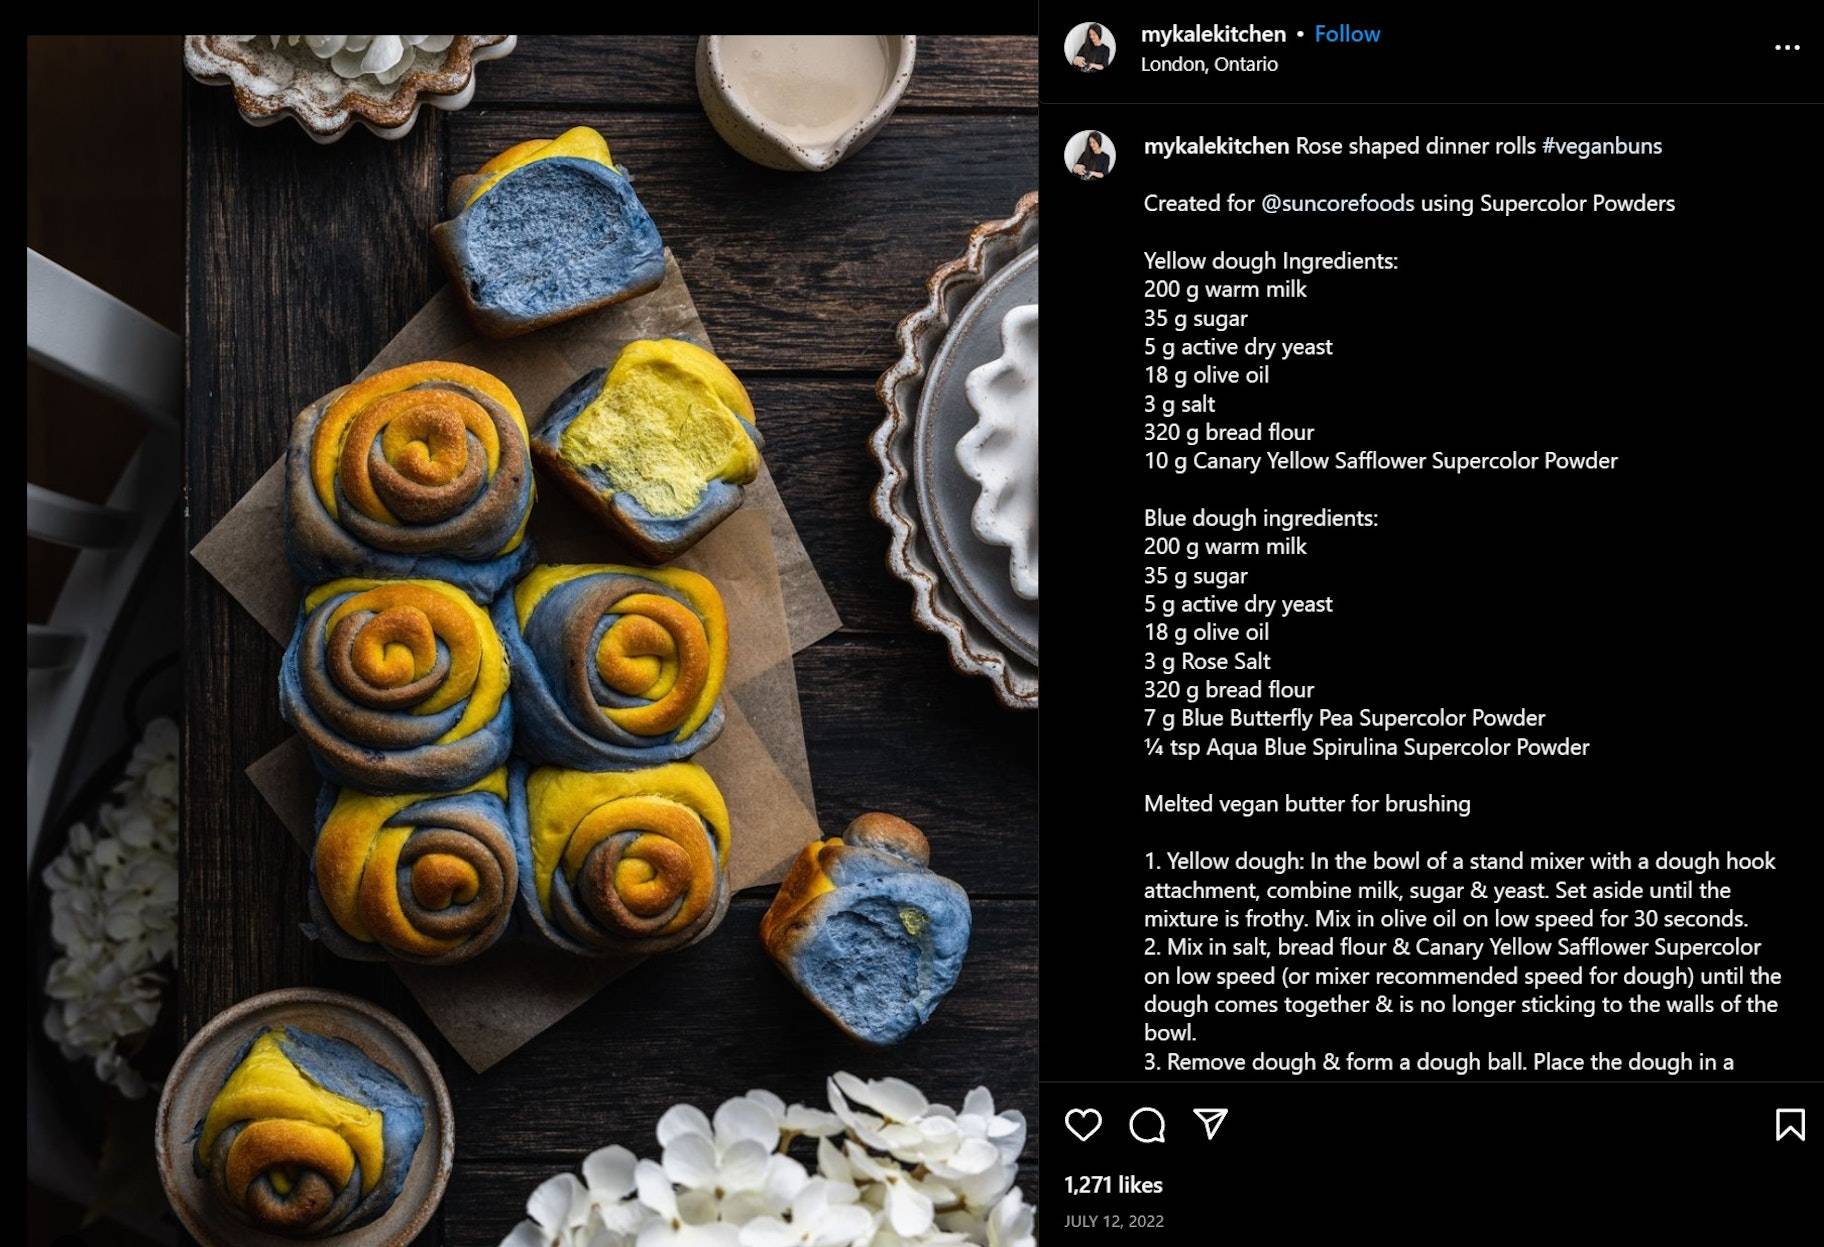
Source
3. Set up lighting
Lighting is another important element that can make the difference between professional food photos and bland (or even gross-looking) ones. You can opt for natural light or artificial lighting, depending on the dish you’re photographing and your access to good natural light.
One of the key things to remember is to avoid harsh light. This usually happens when your light source is too close to your food, creating shadows or excessively bright spots, or accenting the wrong parts of the dish.
You can avoid this by putting your lighting to the side of the food instead of directly in front of it, and making sure the light source is far enough away that you can’t see shadows or bright spots.
As a general rule, use natural light whenever you can. If you have a well-lit room, try placing your photography table near it. If you don’t have access to natural light, try buying an affordable light and light diffuser. These tools can help brighten up your photos while avoiding the harsh lighting faux pas.
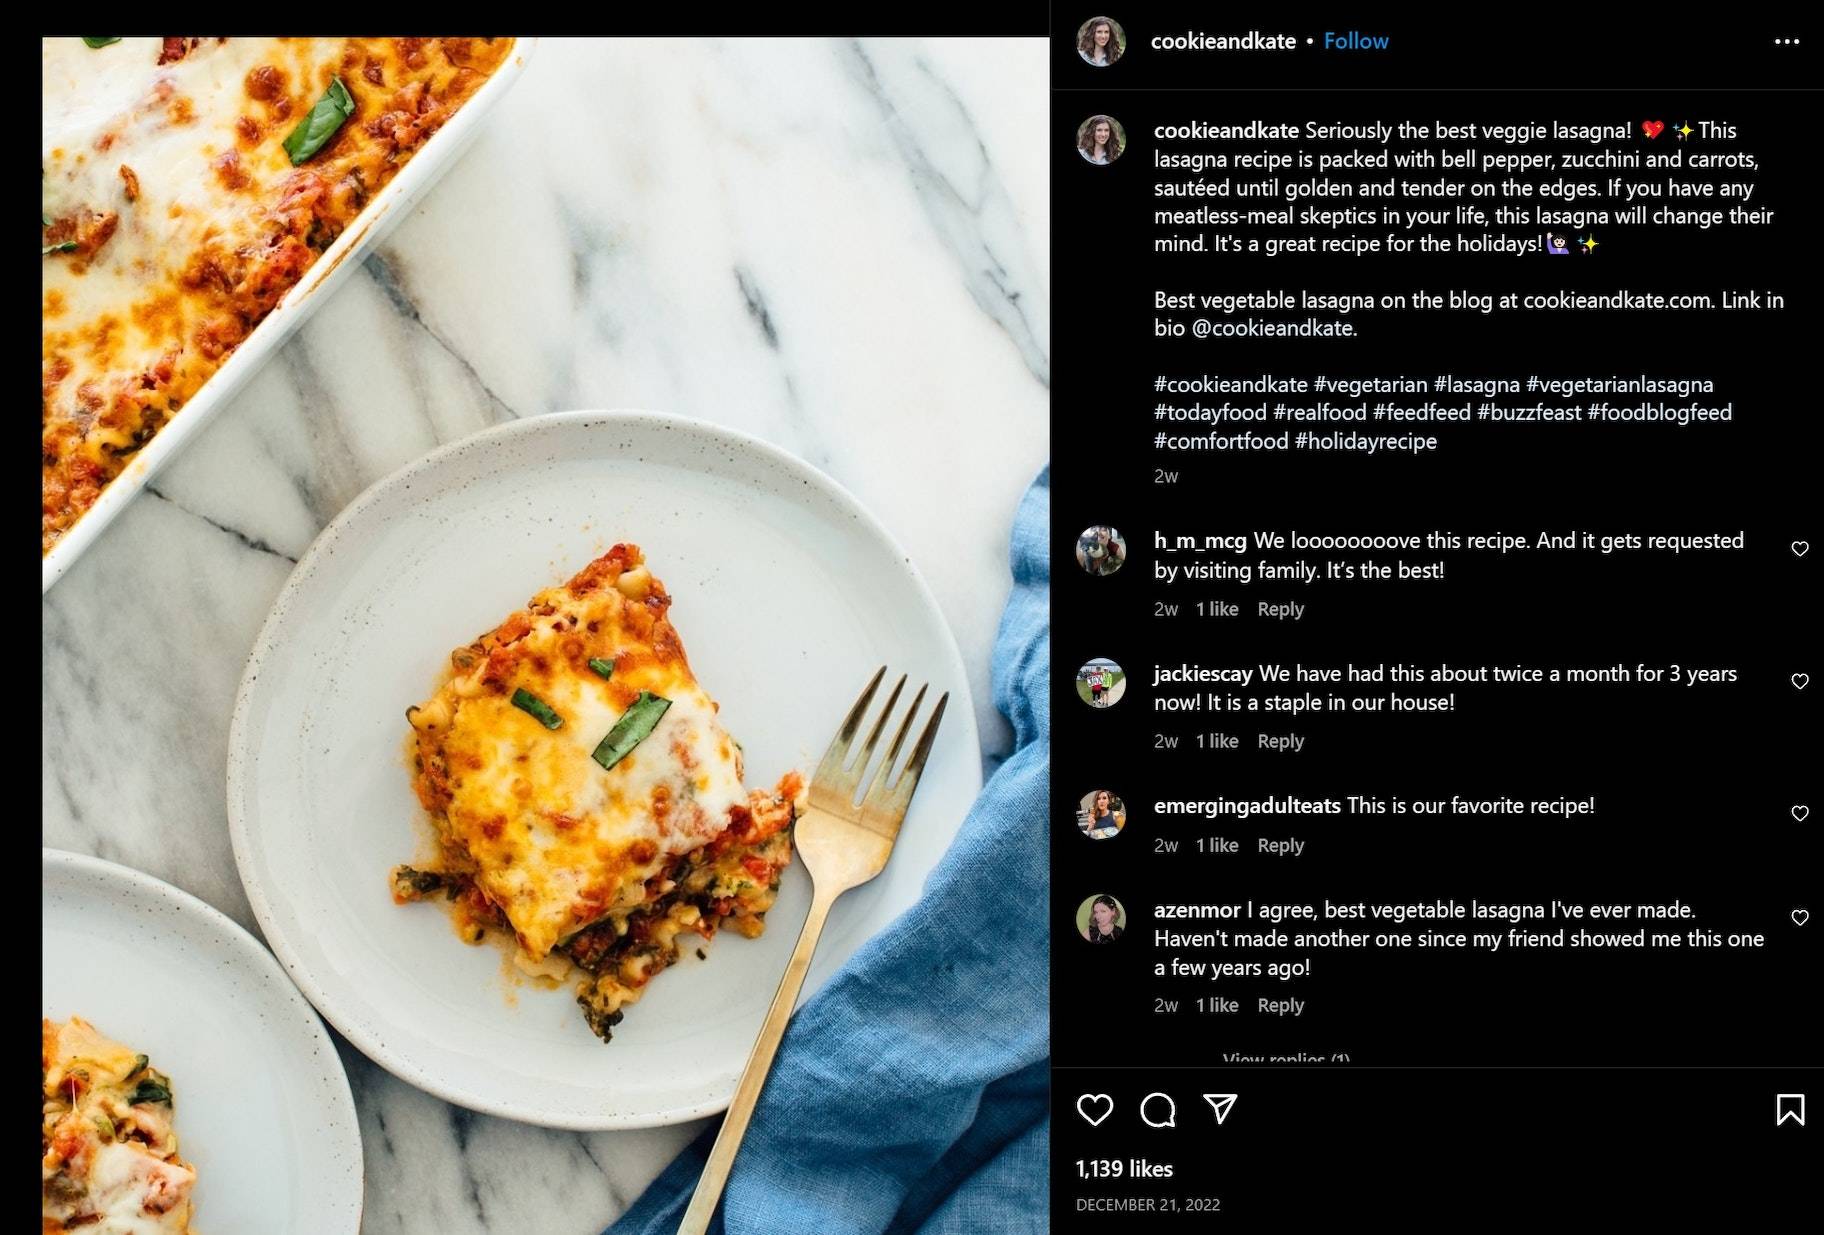
Source
4. Test different frames
Shooting food photography directly from the top—a bird’s-eye view—is a popular strategy for professional food photographers. But it’s certainly not the only way. Try experimenting with different frames by shooting at different angles and using different shooting styles.
For example, you might have a beautiful charcuterie board that’s best seen from the top to truly capture all its glory. But you might have a triple-decker sandwich that’s true splendor comes in the form of a side shot, allowing you to see all the unique layers.
Photograph food from every angle you can think of, then narrow down the best options after.
Also consider experimenting with shooting styles, like using depth of field to focus on certain parts of the dish and leaving other areas out of focus. This is an extra level of artistic touch, and can help you highlight some interesting textures.
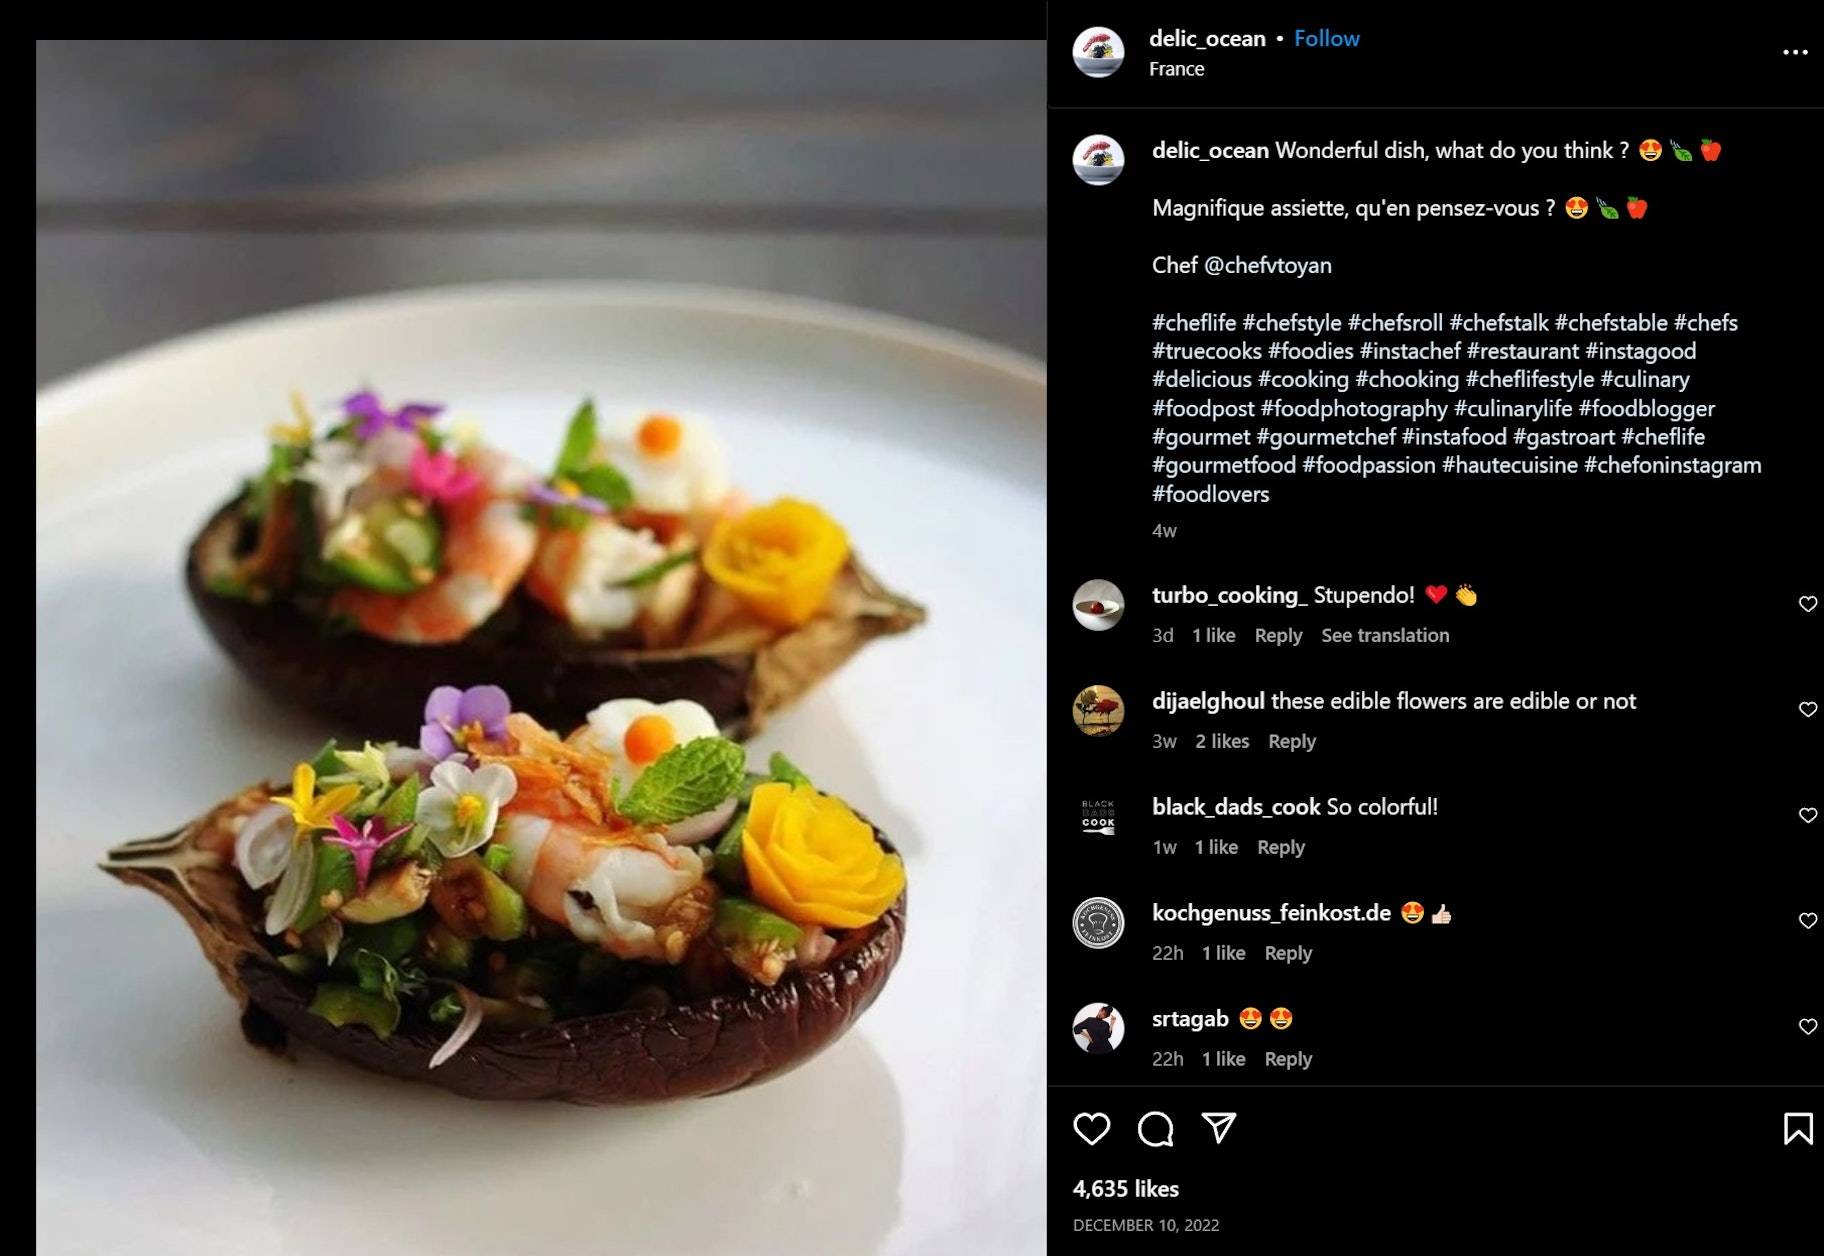
Source
5. Edit your food pictures
After capturing some food pictures, consider making light touch-ups using a photo editing app.
You could use a paid tool like Adobe Lightroom, if your budget permits. But don’t forget that many free photo editing tools are available.
When making edits, remember to take a conservative approach. For example, you can make light edits to the shading and color balance—this will help your food images to look more natural and appealing.
Other tips to keep in mind:
- Adjust the sharpness to give the edges of the image more definition.
- Use a warmer white balance to make the food look more appetizing.
- Add more contrast between the dark and light parts of the image to increase its detail.
- Increase the saturation of your food photographs slightly to expose the subject’s colors.
Besides software editing, think of some interesting ways to play with your food. Some ideas include making biscuits that look like cute animals or using dough to sculpt a landscape. A unique approach to food photography will improve your chances of attracting social media users. (Plus, you’ll get unique media assets for a food blog should you decide to start or contribute to one in the future.)
Becoming your own food photographer
As you can see, shooting food photography isn’t as tough as it might seem. As a beginner, the top things to keep in mind are your plating, lighting, framing, editing—and creativity, always!
It’s likely you’ll need to pick up some new skills as you go—but this shouldn’t deter you from diving in. Like any new skill, when you approach it with an open mind and a willingness to learn as you go, you’ll be surprised at what you can accomplish.
Now get out there and take some irresistible food pictures.
Food photography FAQ
Can you take good photos of food with your phone?
Certainly! Just follow our food photography tips to get the best shot. With the quality of smartphone cameras improving, you don’t need a DSLR camera to take good pictures of food. Use your iPhone or Samsung Galaxy to capture high-quality images of your food while visiting a restaurant, bar, café, or roadside eatery.
How do I make my food look good in pictures?
- Arrange your plating and cutlery before you start taking pictures.
- Experiment with different angles, frames, and depth-of-fields to determine the right combination for highlighting the appetizing textures of your food.
- Light the food from the side rather than the front, using soft light. Plus, choose true-to-life colors over grays and blues.
- Lightly edit your images for saturation, contrast, and sharpness to help bring out the warmer colors of your food.
Start selling online now with Shopify
Start your free trial


Want to learn more?
- Clothing Photography: How to Take Pictures of Clothes
- 11 Best Stock Images Sites for Ecommerce Entrepreneurs
- 300+ Best Instagram Captions for Your Photos & Selfies
- How to Build a Brand: An 8-Step Guide for 2023